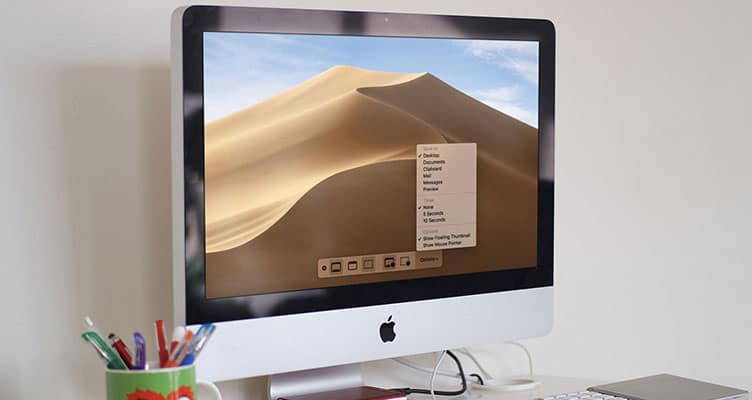
It is now much easier to record screen on MacOS Mojave by providing a new tool, Apple offer screen recording on macOS Mojave. Now you don’t need to depend on quick time player to record Mac screen. So here is a full guide that how to record Mac screen in macOS Mojave 10.14 using this new feature.

How to Record Screen on Mac in macOS Mojave:
- Set the screen you want to record and Press and hold Command+Shift+5Key on the keyboard to access screenshot toolbar.
- So here, you will find two options:
Record Whole Screen: The recording will start immediately once you select this option.
 Record Particular Portion: This option will record only the part that you have selected. For this, first of all, you need to select the part that you want to record. Once it’s done, the recording will start instantly.

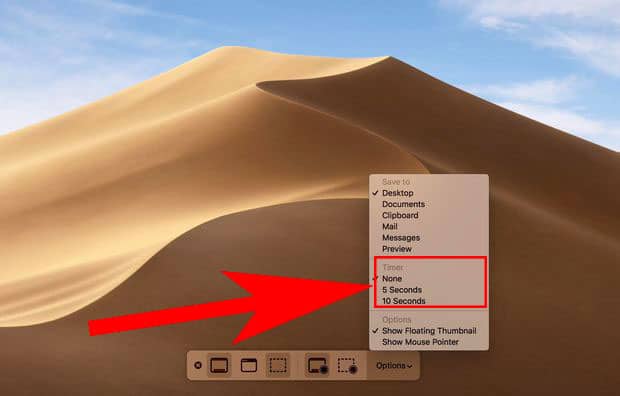
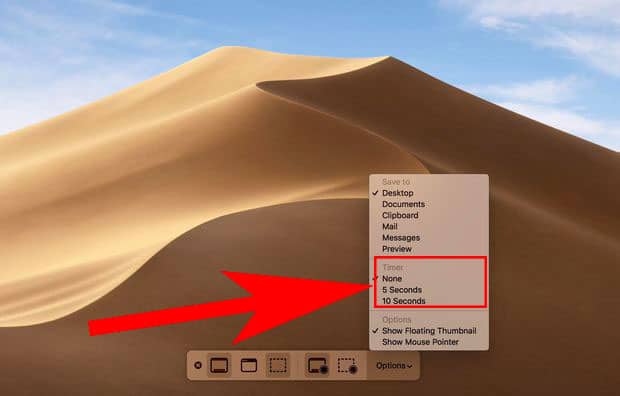
- You can set the timer to start the recording automatically. To do so, you need to click on Options from the menu and choose 5 seconds or 10 seconds.

- There is an option to save the recording to Messages, Mail, Desktop and even Mail it.

- When you finish the recording the screen, Click on stop button from the Menu bar to stop it.
- You will find the recorded screen at the at the bottom right corner.
How to Edit Recorded Screen on macOS Mojave:
If you also want to know that how to edit recorded screen, Just click on the button which is at the top of the right.
Drag the yellow option to delete the portion that you do not need. Then, click on the done from the top right corner.
If you have any query regarding above article let me know in below comment…


