On the off chance that you were searching for the most productive approaches to exchange or expel photos from your iPhone utilizing your Mac, here’s the opportune place. We demonstrate you three speediest approaches to do it. Best thing is that you don’t have to download any additional application. We’ll be utilizing applications as of now on your Mac. iPhoto clients may read on for a speedier option.
Apple has made downloading pictures from your iPhone to your Mac an effortless arrangement. I will demonstrate to you industry standards to achieve this undertaking utilizing three applications – iPhoto, Image Capture and Preview application on Mac OS. Likewise, with the new era of iPod Touch and its inbuilt cameras, iPod Touch clients will require this guide as well.
How to Transfer photos from iPhone to Mac OS:
iPhoto:
While iPhoto has some great features available it’s a little slow if you just need a screenshot or temporary image transfer. However, if you wish to keep the photos for long and want to keep them organized in albums this is the best way to do it. iPhoto will help you browse photos as albums or event.
Also, you have a nice set of editing and slideshow tools available to further enrich the experience. Most of you are already familiar with how to import photos using iPhoto. For those not, here’s how. Open iPhoto, Connect your iPhone over USB. In less than 30 seconds, your iPhone should appear in the device list.
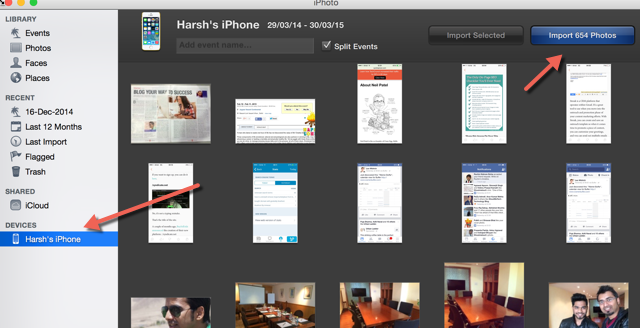
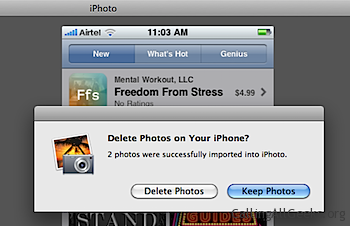
The photos will be copied to iPhoto album and you will be asked whether to delete them from the phone or not.
There are times when I don’t want to save them in the iPhoto album (temporary images like screenshots) and just wish to save them manually and quickly. For that, we have the following two ways to attain the task.
Image Capture:
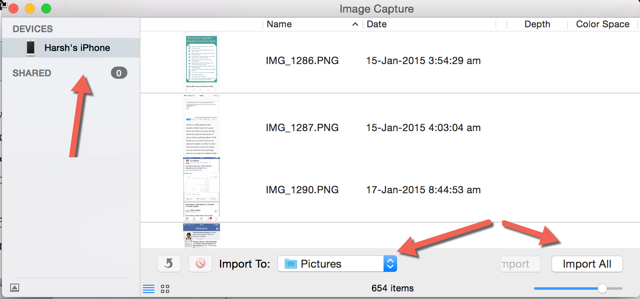
Believe it or not, this app has always existed in your Mac’s Applications folder. Just go to Applications > Image Capture or use Spotlight to search for the same.
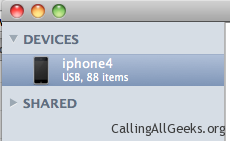
Your iPhone will show up under the rundown of gadgets on the left. Simply select the pics you need and tap on import. On the other hand, drag the pics out to any discoverer window or your desktop and you’re finished. Yes, it’s that straightforward. Actually basically the way you have been doing it on windows to exchange iPhone pics. You can likewise erase the same number of pics as you need by tapping the little red catch in the base.
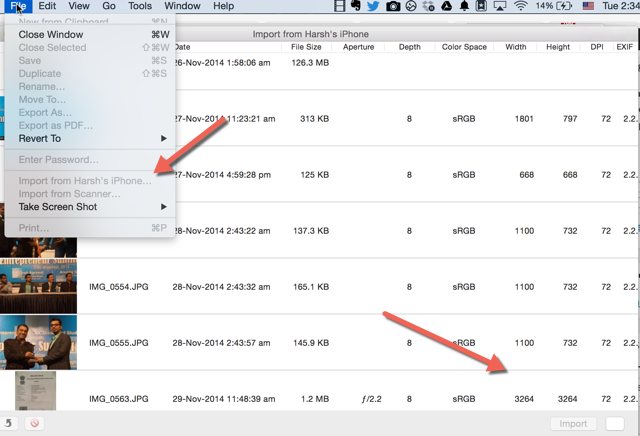
Preview Application:
How could we miss this out. Preview lets you view practically anything on the Mac right? Right from PDFs to images. Now let’s use it to transfer pictures from the iPhone. Just run Preview, in case it already isn’t.
Hit the file menu and tap on import from iPhone. The name of the gadget relies on upon what you called your iPhone in iTunes. The way toward bringing in and erasing pictures stays same as that in the past instance of Image Capture.
I’m sure just like me, most of you did not yet know about all of the three ways to import iPhone photographs. Go ahead and try it out for yourself. If you run into any issue feel free to use the comment box.